Hi crafty friends!
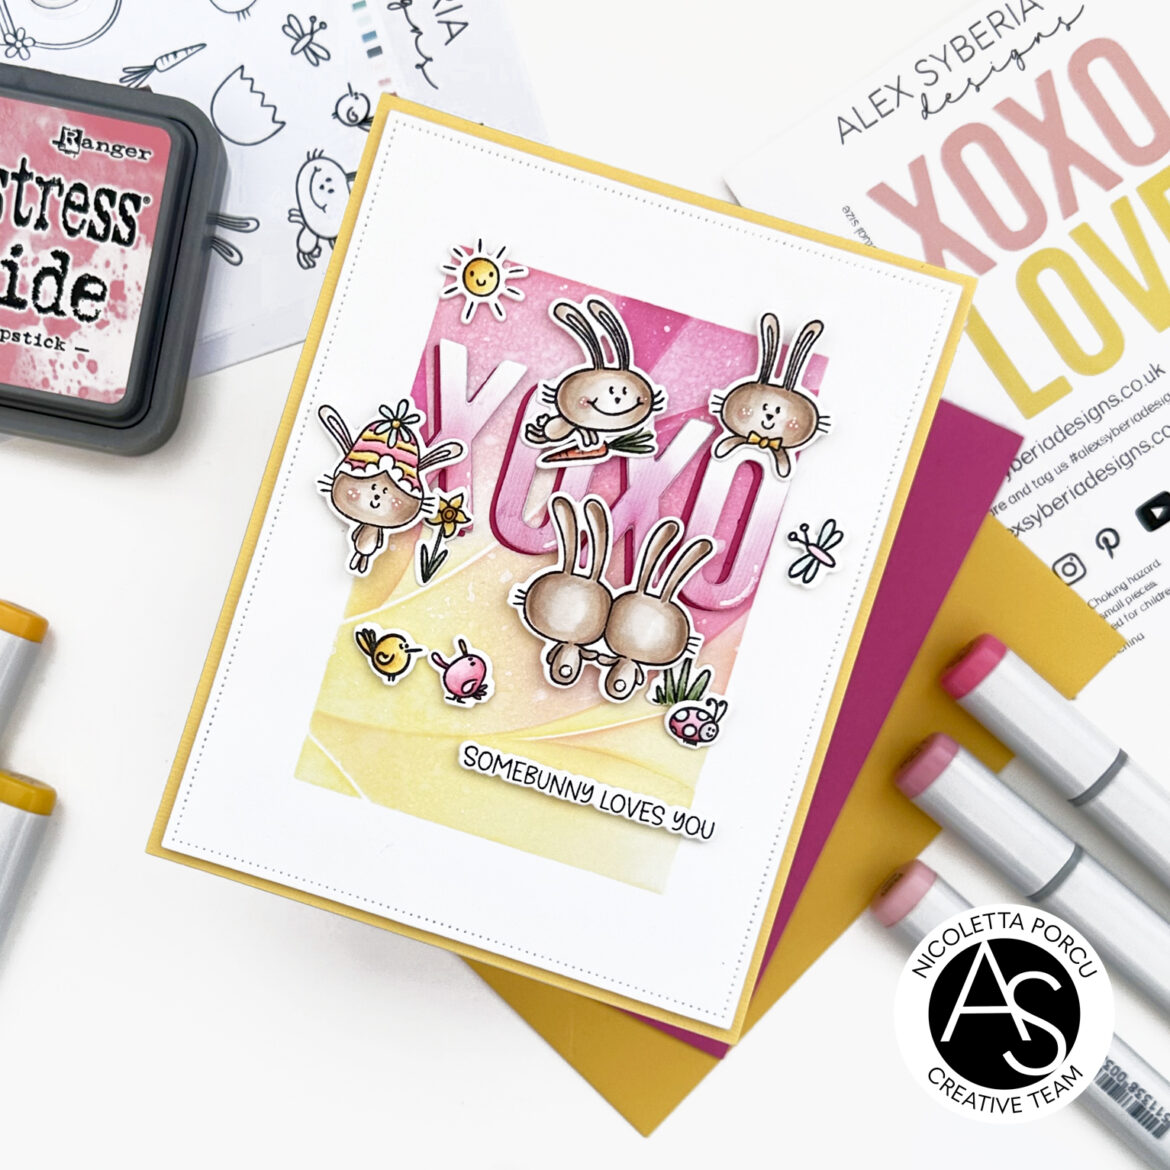
Nicoletta , here today with a new card to share with you! and this is the time for the Hoppy Easter stamp set … I know the Easter Holiday has just passed but , this set is so versatile and it can be used for many occasions.

To make my card I started by creating a rectangle window on a white cardstock using the masking tape; Next up I stencilled the Abstract Background stencil set using Worn Lipstick, Picked Raspberry and Squeezed Lemonade Distress Oxide inks and I sprayed it with water and white acrylic paint.
I let it dry and then I gently removed the masking tape and I die cut the cardstock in a A2 rectangle using the Nested Scalloped Frames die set.
I glued it over a little bit bigger yellow cardstock and then all together over a white base card.
Once my card’s background was done I thought about the top elements.
I die cut 4 white layers of the big sentiment XOXO using the Love& Xoxo die set, I glued all together but before I blended the bottom of the last one using Distress Oxide ink. I glued it, slightly staggered over one more xoxo sentiment in Charming Pink to create and ombre effect and then I glued the completed sentiment on the card.
Next up I stamped the images I needed from the Hoppy Easter stamp set, I colored them using copic markers and then I die cut them with the Happy Easter coordinate dies and I glued them on the card all around the XOXO sentiment.
As s last thing I added the string sentiment from the Hoppy Easter stamp set, gluing it with am adhesive string mousse to add dimension.

And that’s it
Here a products’ reacap you could find on the Alex Syberia Designs shop:
Abstract Background stencil set
Nested Scalloped Frames die set
I absolutely love the Hoppy Easter set and I hope I really hope you got some ideas.
Thank you for reading me!
Ciao Ciao


