Hello Crafty friends,
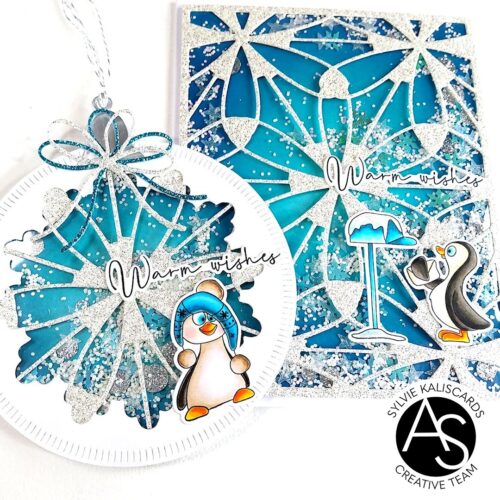
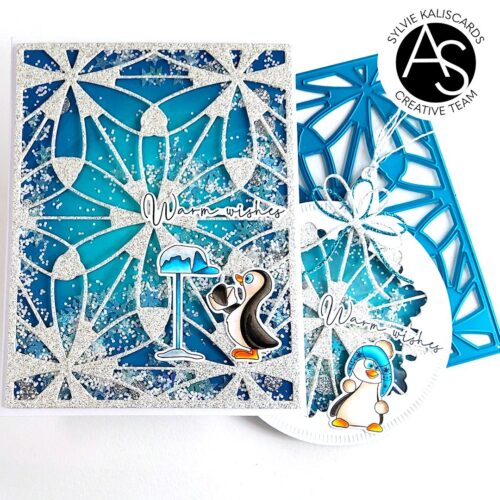
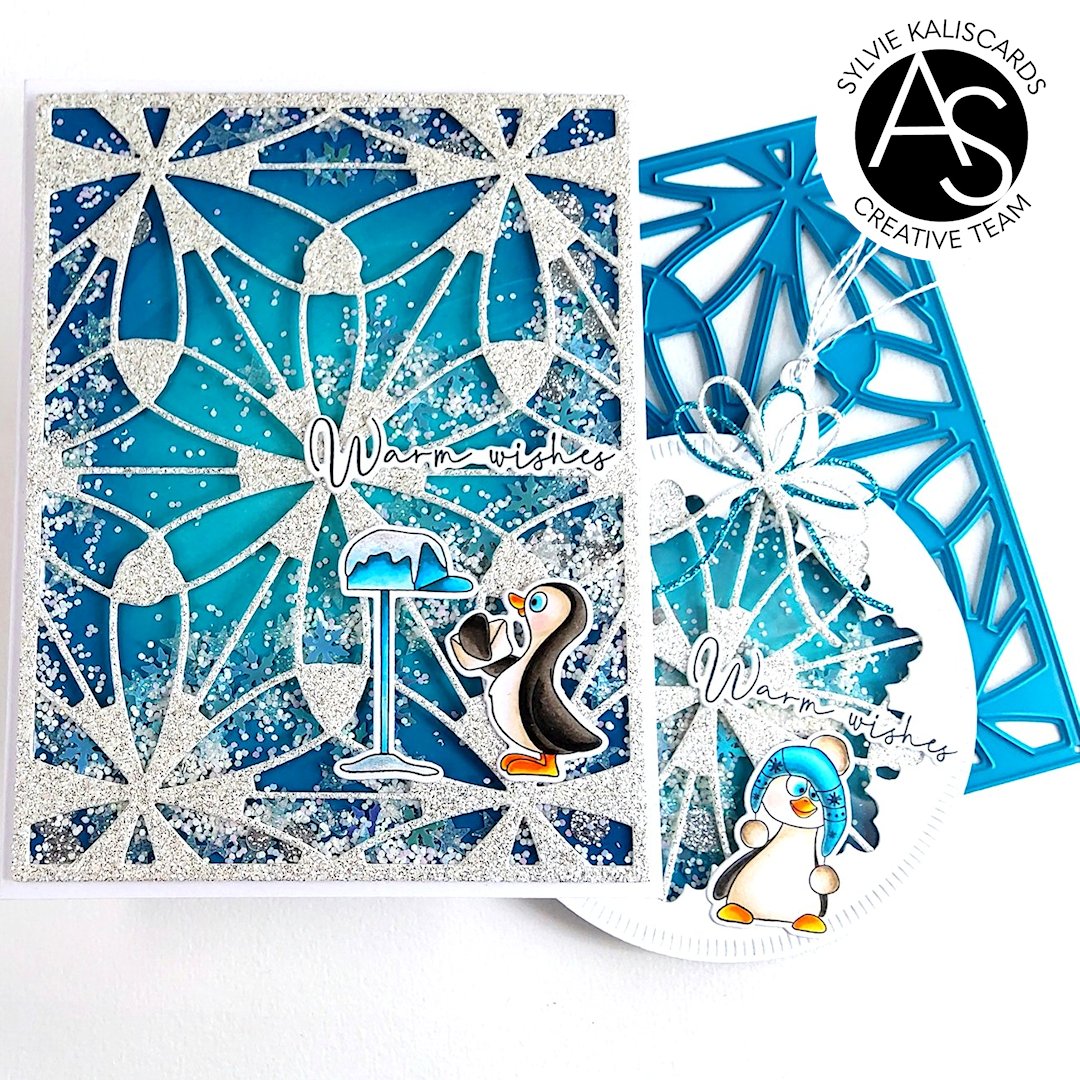
Sylvie @kaliscards here. Today, I’m sharing a shaker card and its coordinating shaker tag featuring the beautiful Snowflake petals cover die.
To create this set, I die cut twice the Snowflake petals cover die from white glitter cardstock. Using the big circle from the Timeless blooms celebration die set, I die cut a circle from the center of the Snowflake petals cover.

Next, I die cut 3 circles from white cardstock using the larger circle die from the Nested stitched circle die set. I then ran one of the circles a second time, cutting out the central part with the Small snowflake from the Snowflake layering die set. I then adhered the circle from the Snowflake petals at the back, as well as a circle of acetate. I also added 3D foam at the back on the edge of the circle.
I took a second circle and also cut out the back panel of the card. On both, I blended Distress oxides Salvaged patina, Peacock feathers and Uncharted mariner.
At the back of the blended circle, I glued the third circle die cut for a nice finish at the back. I then die cut the smaller bell waist and larger clapper, from the Jingle bell joy die set, from brushed silver cardstock, twice. I adhered one bell waist at the top of the front circle panel, then adhered the clapper on the top, gluing it at the back. I repeated the same step on the rear circle, making sure to align the bell waists and clappers. I then punched a hole in the clappers for the threads. To finish the shaker, I poured some embellishments and sequins, removed the foam relase paper and sealed the shaker. I then die cut 2 bows with the Pretty bows die set from glitter cardstock and adhered them on the bell waist with liquid glue and glue dots.

For the card, I slid the back panel in a plastic pouch, poured the same embellishment and sequin mix inside the pouch and sealed it. I then adhered the Snowflake petals cover on top with double sided tape where possible and liquid adhesive. Finally, I adhered the front panel on the cardbase.
Finally, I stamped the cute penguins from the Smile and wave stamp set and Warm wishes sentiment from the Midnight blooms stamp set. I colored the images with Copic markers and die cut them with the coordinating dies. Also die cut the sentiment with the coordinating die.
I then adhered the images and sentiment on the shakers.
Thank you for stopping by and happy holidays!
Sylvie


2 comments
This is such a special project, Sylvie! Amazing use of Alex’s products (using the bell die as the topper for the ornament is mindblowing!)! And, of course, I am gah gah over the sparkliness!! 🥰😉💕🤗
Thank you Enna 💕💕💕