Happy Friday friends and welcome. Natasha here with you today. I am so excited to be on Alex’s blog today sharing a couple cards with you using 2 of the new digi stamps from her AMAZING and beautiful March release!
You can see all of the new release in Alex’s ETSY shop – come check it out, it’s so BEAUTIFUL! I am always inspired by each of Alex’s designs!
For my first card today, I am using the Spring Tulips – A2 card panel stamp! So let’s get started!
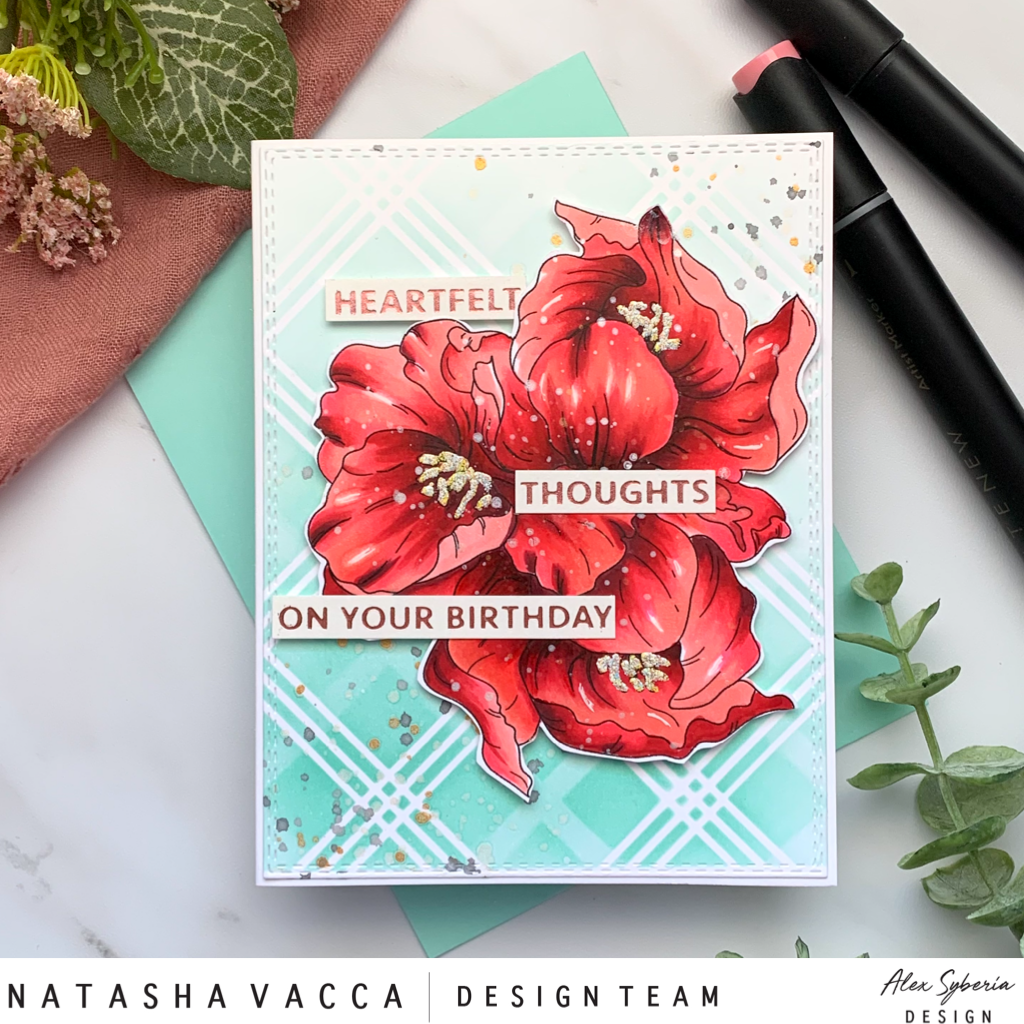
I started by working with the Spring Tulips – A2 card panel stamp in Microsoft word. This image is perfect for an A2 card panel or you can work with the image on your computer to edit the size, etc. I printed the image on Neenah 80lb card stock for today’s card. When I use digital images I print the images and then set them aside for 24 hours to ensure my ink from the printer is dry before I add any coloring mediums. For my coloring today I used my Altenew Artist Markers. I used the following colors: R335, R318, R304, and R302. I work in layers and have found I do best when I go from dark to light. I continued to follow this pattern for all the floral sections and once it was completed I added some dimension to the floral nooks and crannies, using Prismacolor pencils. I love the added depth this gives to a piece. I also used my Sakura Gelly Roll Pen to add some white highlights. I then cut the stamped image, using my Brother Scan and Cut. I used my embossing pen to add WOW embossing Powder – Parc Floral (Hydrangea) to the flower stamens for added dimension and shine! I set it aside, while I worked on my background for my card panel.
I created the background using the Diamond Plaid Stencil from Pink Fresh Studios. I taped one of the stencils down onto Neenah 80lb card stock and blended inks from the Stamp Market in Sea Glass and Tropic Teal. I created deeper tones at the bottom of the card panel and moved to lighter shades as I got to the top of the card panel. I completed the same process with the 2nd layer of the Diamond Stencil – PinkFresh Studios.
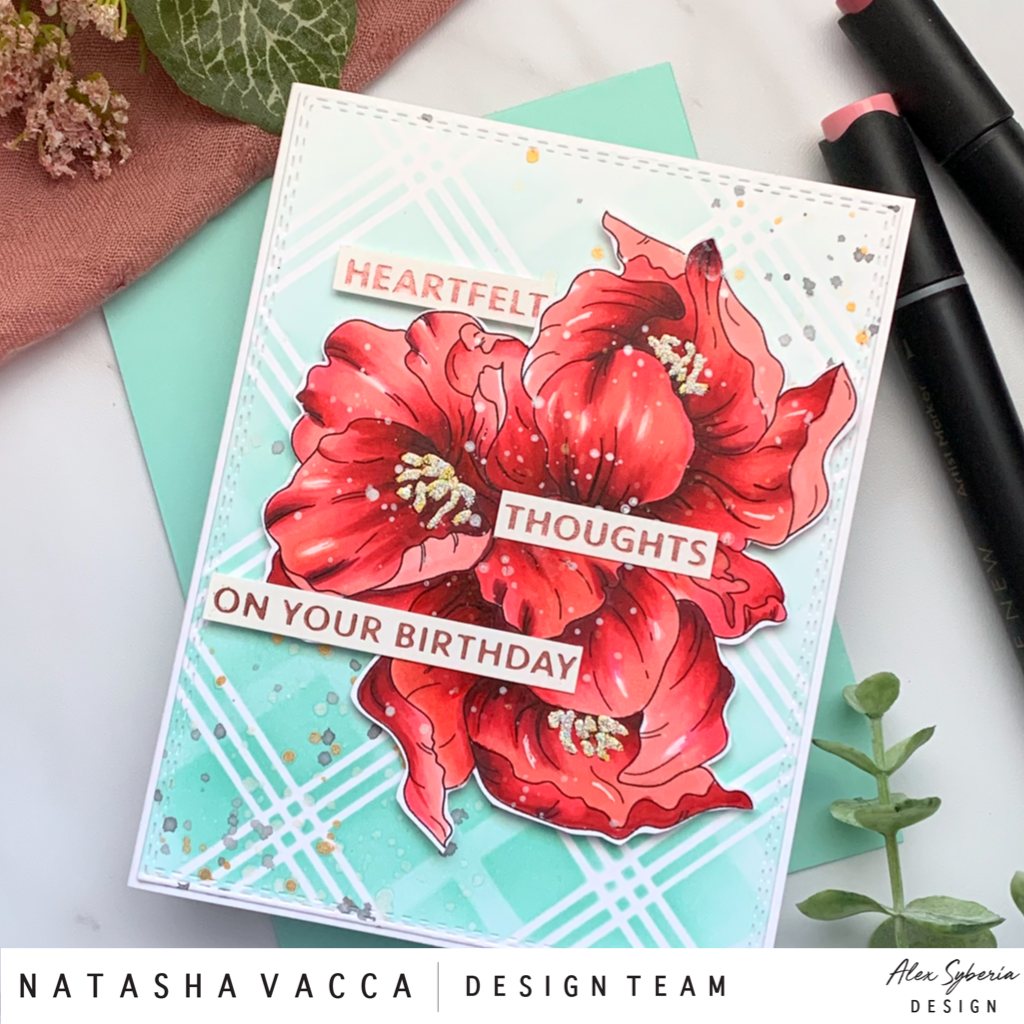
I added some metallic splatters using my watercolors to the background panel and set it aside to dry. While this was drying it was time to prepare the sentiments. I chose to use the Glimmer Hot Foil sentiment set – Especially For You. I prepped my foil using The Quick Trimmer from Spellbinders. Then I foiled the sentiments using pink foil onto white card stock. Then I cut them into sentiment strips. Then I glued the panel onto a card base. I used foam tape behind my floral image, as well as 2 of the sentiments.
I hope you enjoyed today’s card and this inspires you to try this gorgeous floral stamp!
I also created another card using the Springtime Card Panel. I had a lot of fun with this gorgeous image too!

Today’s cards are part of an Instagram Hop. Be sure to stop by on Instagram to see the AMAZING release, as well as all the beautiful inspiration and for a chance to win a gift certificate to Alex’s shop!

Thank you for stopping by today!
Crafty Hugs,
Natasha