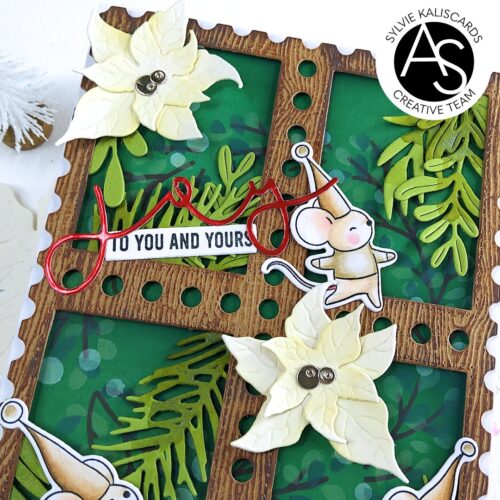
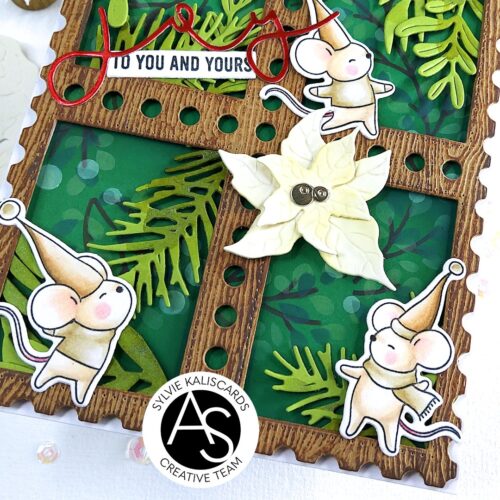
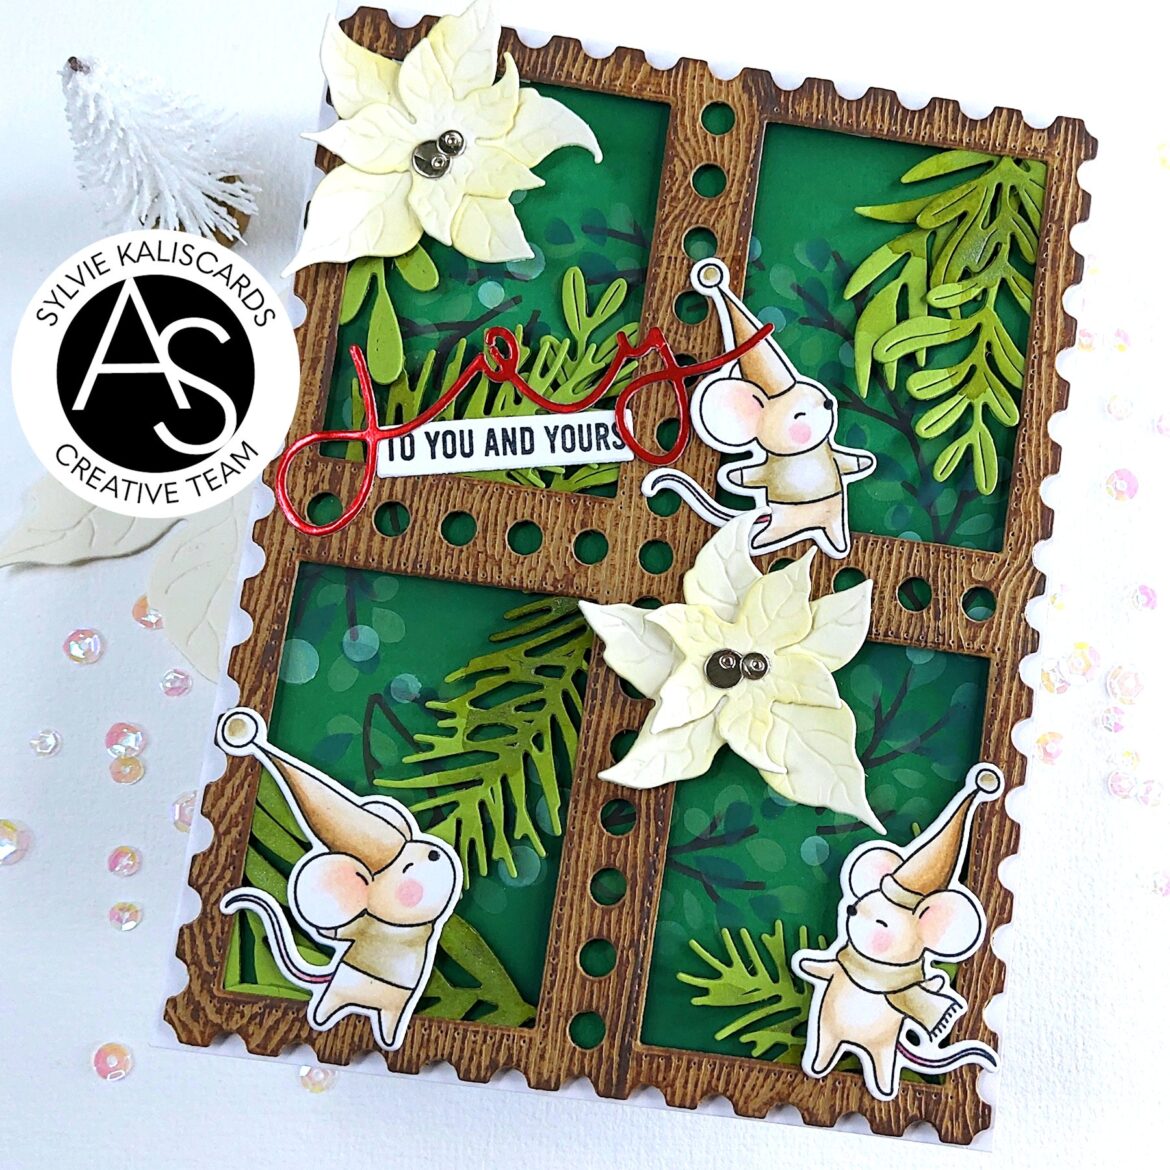
Sharing a Christmas postage card inspiration with a mix of various products. I hope some of the details will inspire you.
For this card, I started by die cutting the Postage stamps cover die from brown wood cardstock. Using a rectangle die, I removed the inner part of the four stamps, within the stitched lines.
I then dabbed Distress oxides Vintage photo and Ground espresso directly onto the postage panel to contrast the wood veins and age the frame.
Next, I cut a background panel from dark green cardstock, slightly smaller than the postage frame. Using the Postage stamps coordinating stencil, I blended Distress Oxide Rustic wilderness on the edges of the four stamps to create some shading. I then blended Old paper in the center to blend the two colors.
I then pulled the Holiday wreath and branch stencil to create the wreath in the background. I started with the branches with Distress oxide Ground espresso. Then, for the first layer of leaves, I used Twisted citron and Rustic wilderness for the second layer. For the fourth and last stencil, I used white pigment ink for the berries.

I then die cut the two smaller sizes of the poinsettia, from the Joyful poinsettia die set, from vanilla cardstock and blended Old paper between the leaves. I then shaped the petals and center of the poinsettia petals on a foam mat, with a dot tool and assembled the two flowers with liquid adhesive. For the berries in the center, I used metallic champagne cardstock and glued them on the center.
I also die cut several different winter foliage from the sets: Jingle bell joy die set and Winter foliage die set, from light green cardstock. I then dabbed Mica stain Holly branch and Frosted Juniper with a brush to give them a little shimmer and some interest.
I also stamped 3 cute mice from the Merry Christmice set and colored the images with Copic markers. I used the coordinating dies to cut them out. I also stamped the To you and yours sentiment from the Christmas sentiments set and also used the coordinating dies to cut out the strip. Finally, I die cut the sentiment Joy using the Joy die with Red metallic cardstock.
To assemble the card, I adhered thin double-sided tape at the back of the postage frame and adhered the foliage at the back, trimming the branches and leaves sticking outo. I then added foam tape at the back of the frame and adhered it onto the background.
I glued the front panel onto the cardbase and finally, I adhered the poinsettia and cute mice with foam tape and the sentiments with liquid adhesive.

Thank you for stopping. Hope you liked this project.
Have a wonderful holiday season and see you on the blog next year!
Sylvie

