Hello Crafty friends,
Sylvie @kaliscards here.
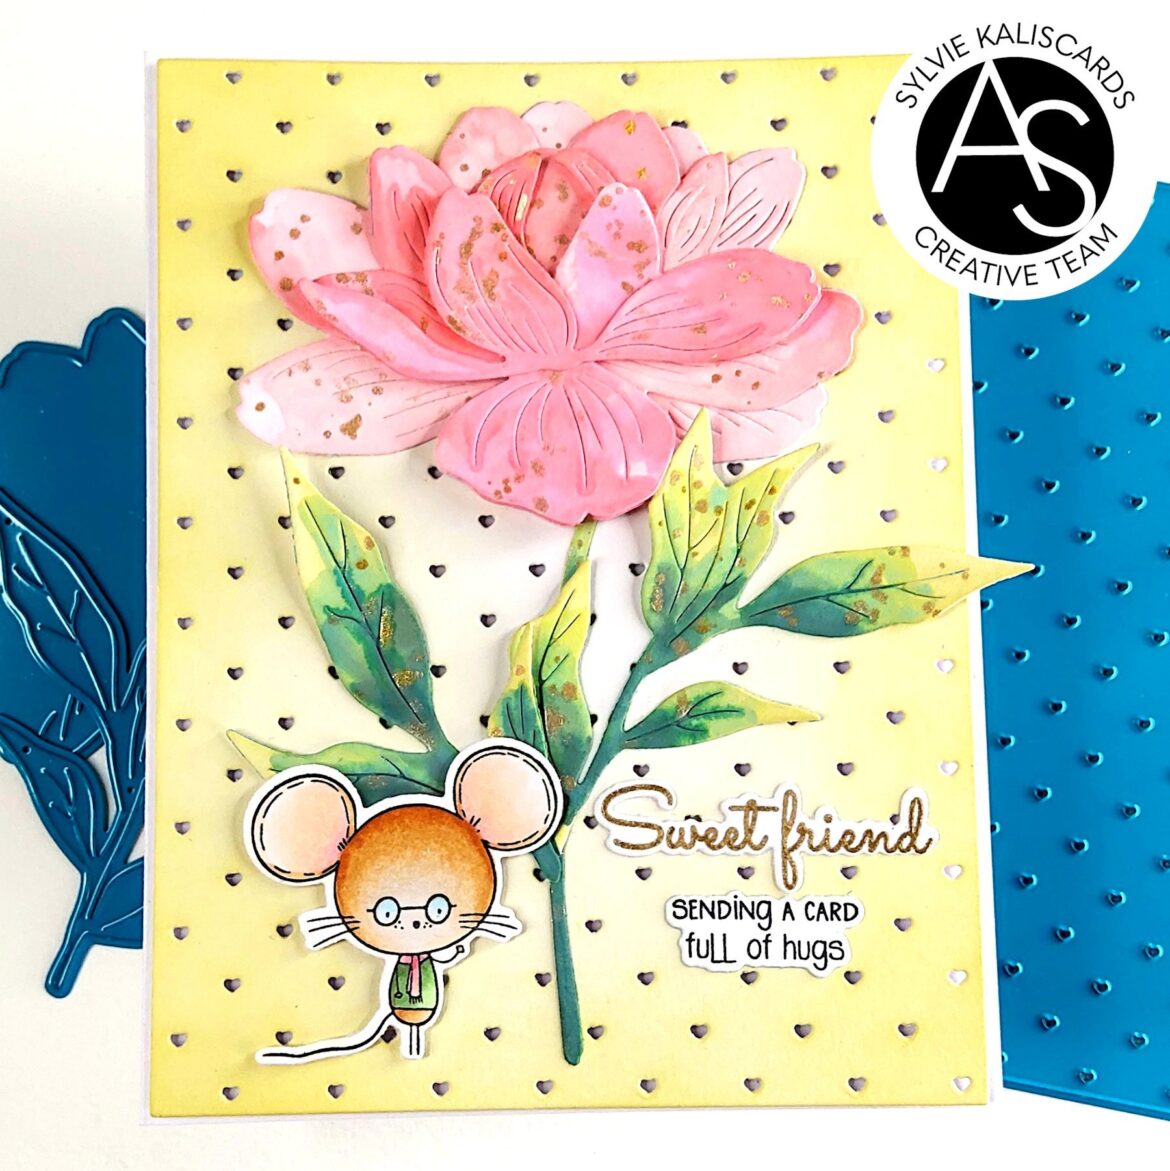
For today’s project, I finally got some time to try the gorgeous Elegant peony die set which I paired with a cute mouse from the Sweet friend set. For the background, I used the Tiny hearts cover die

To create the card, I started by diecutting the background panel from white cardstock with the Tiny hearts cover die. I blended Distress oxide Old paper, insisting on the edges.
I then die cut the Elegant peony from white cardstock and blended Old paper on the stems and leaves and Spun sugar on the petals.

I then watercolored the stem and leaves with Distress oxide sprays Twisted citron and Rustic wilderness. I then watercolored the petals with Spun sugar, Kitsch flamingo and Worn lipstick, going from the lighter color on the back petals to the darkest color on the front petals. I dabbed the excess with a paper towel.
I then splattered gold watercolor all over the stems, leaves and petals and let them aside to dry.

In the meantime, I stamped the cute mouse on white cardstock, a well as the top sentiment from the Sweet friend stamp set. I heat embossed the top sentiment with gold powder. Next, I stamped the bottom sentiment from the Smile and wave stamp set. I colored the mouse with Copic markers and used the coordinating dies to cut out the mouse and sentiment. I also used the Smile and wave coordinating dies to cut the sentiment.
I adhered the background panel onto the cardbase, with small dots of 3D foam. I then glued the stemp and leaves onto the front panel, with liquid adhesive. For the leaves, I made sure to glue only the bottom part of the leaves to let them loose for more dimension. I then layered the peony starting from the larger die cut. Similarly to the leaves, I glued the center part, letting edges and petals loose. I then slightly bent each petal, separating each layer, to give more dimension to the flower. I then glued the sentiments and adhered the mouse with foam tape.

Thank you for stopping by.
Have a wonderful day!
Sylvie

