Hello crafty friends! It’s Bobbi here, “shaking” things up on the blog today. I made a snow globe to share with you. This one includes those adorably cute penguins from the Smile More stamps and dies sets. They are just too cute!
I’m using the following Alex Syberia Designs products to make this 5″ X 7″ holiday card:
Smile More stamps and coordinating dies
I’m using Neenah 80lb Classic Crest cardstock for the card base and die cuts. This card measures 5″ X 7″ in size.

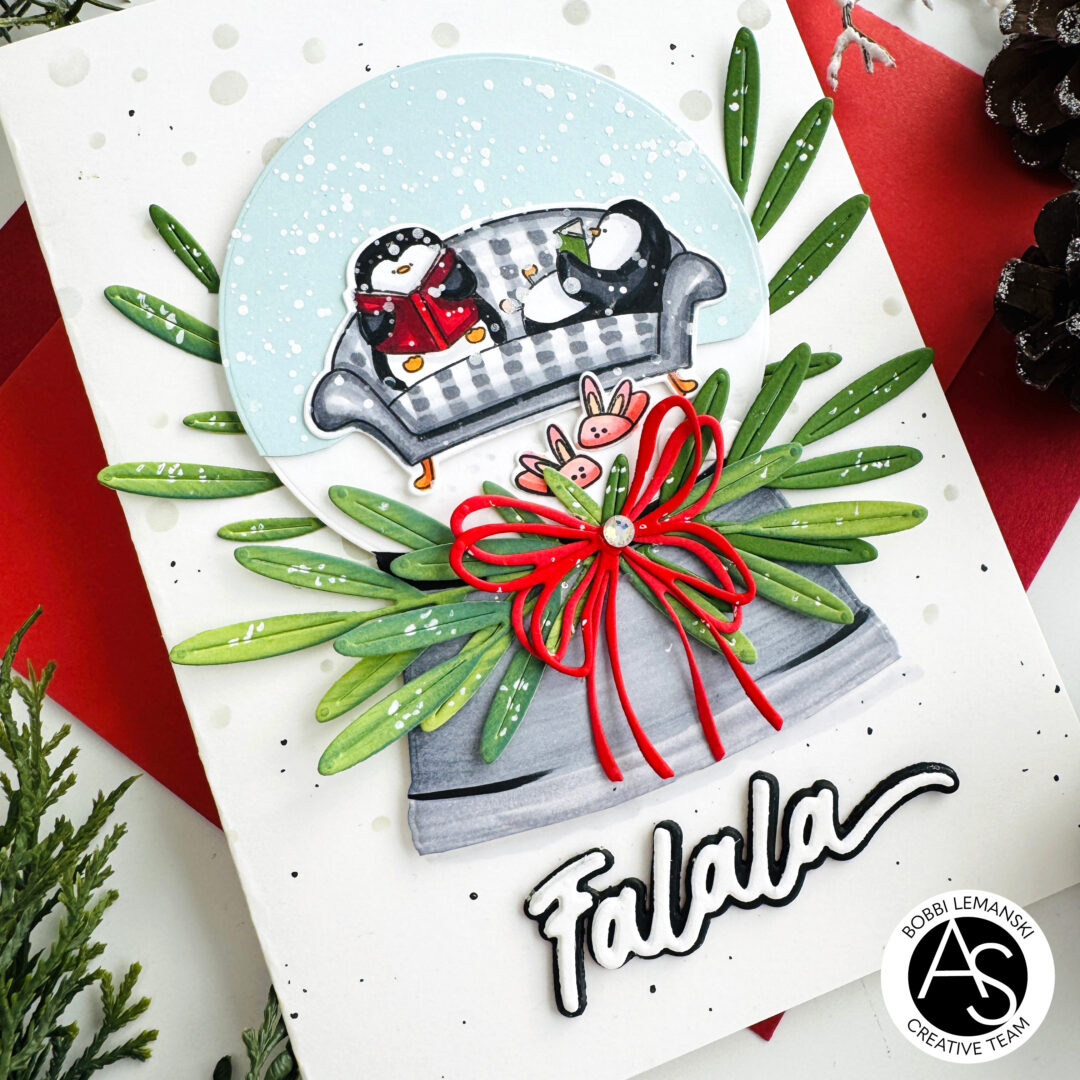
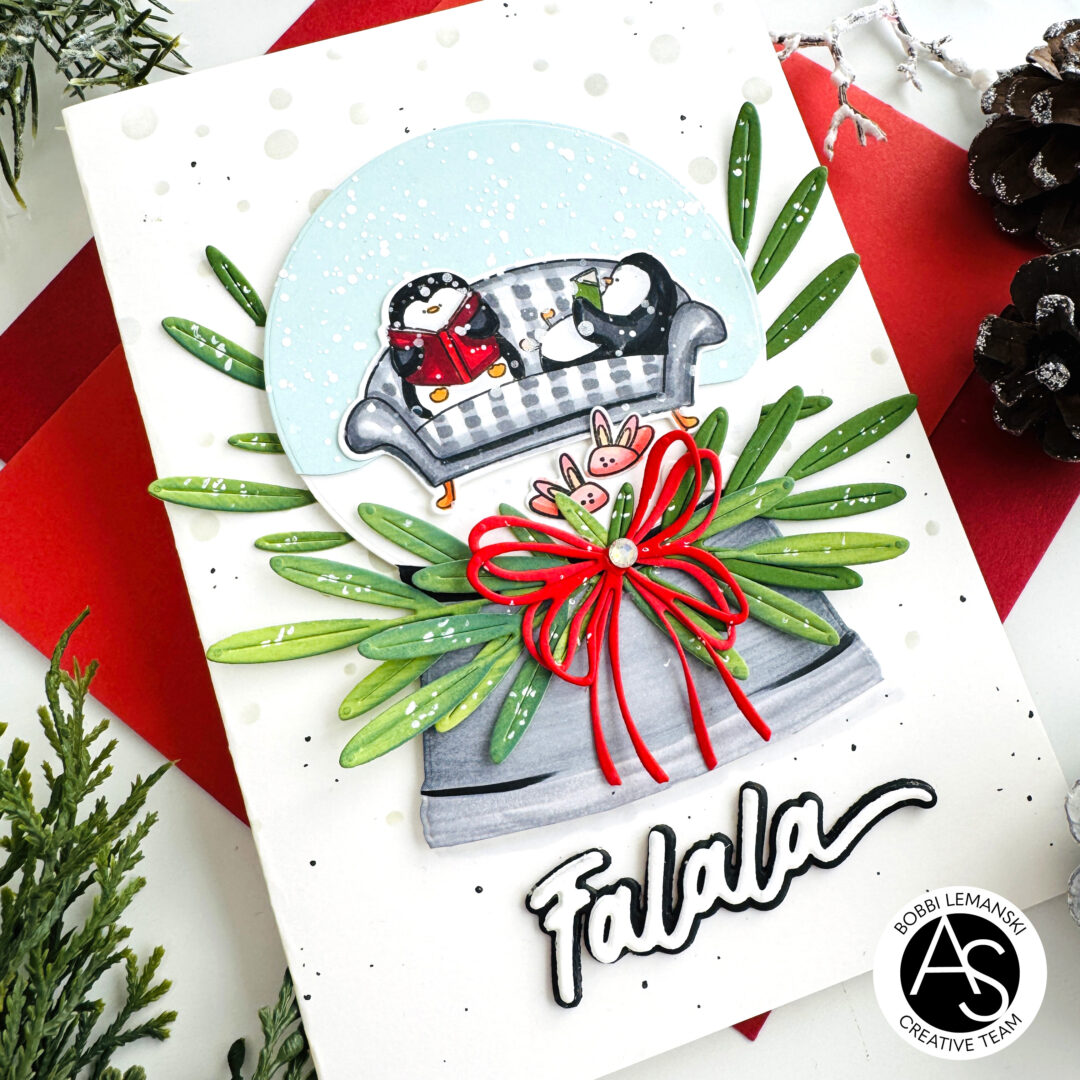
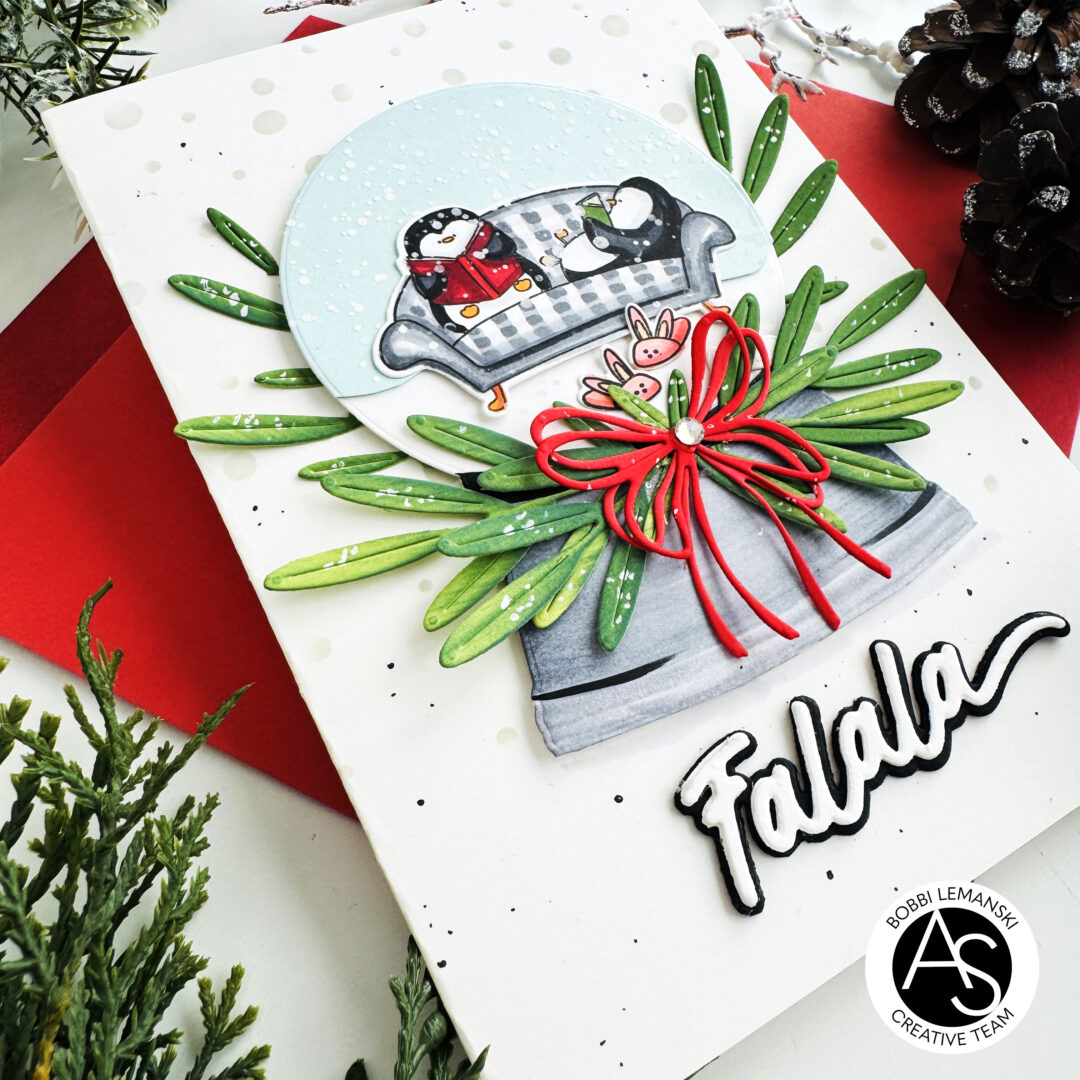
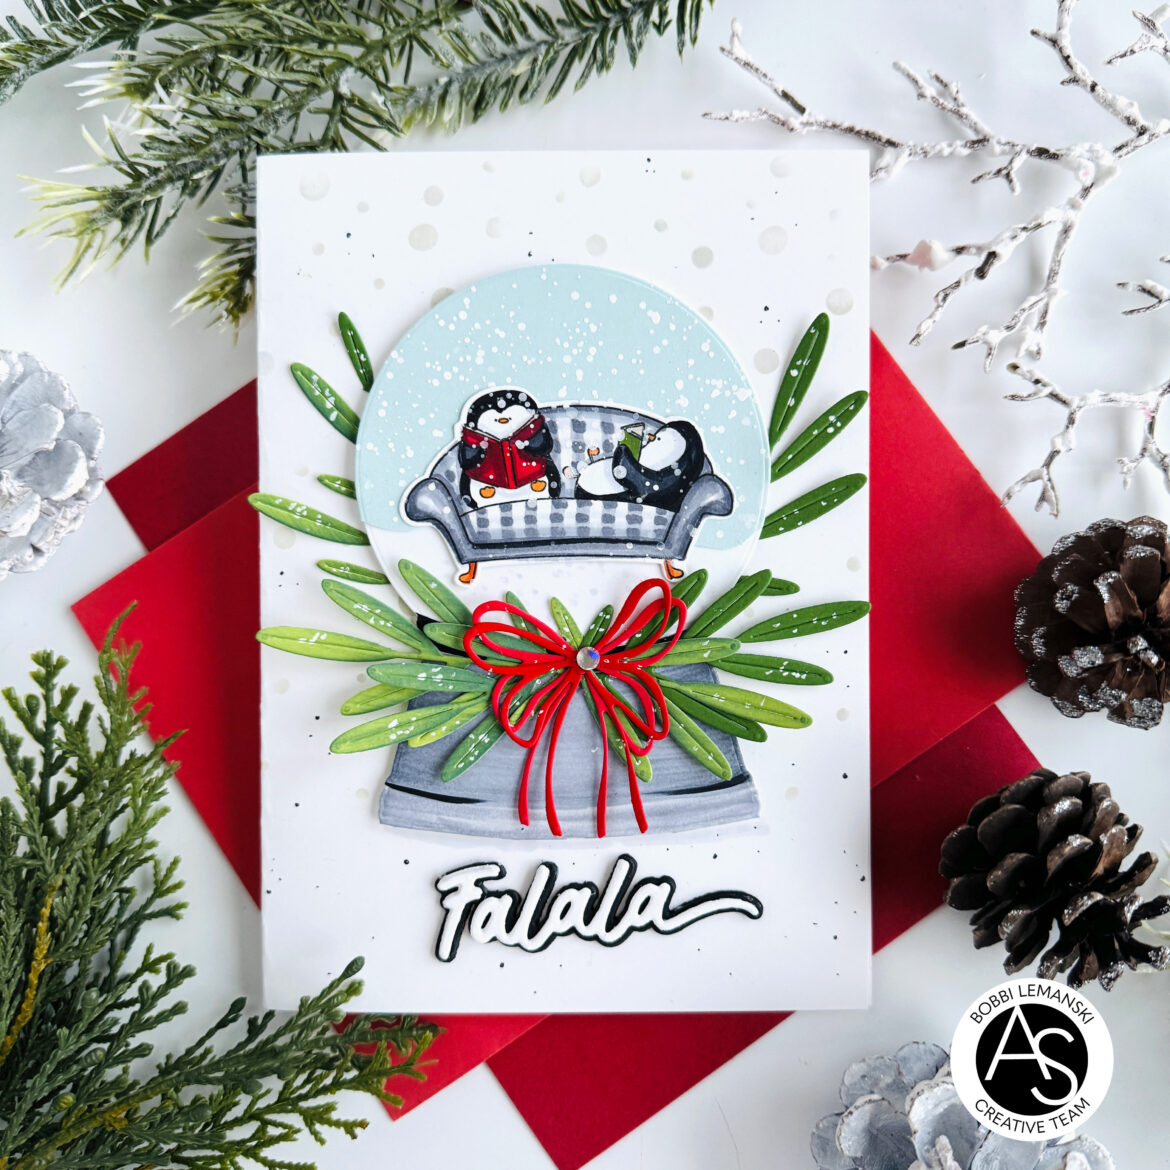
To make this card, I started by stamping, coloring and die cutting the cute penguins on the couch. I used Copics to color the design, creating a buffalo plaid pattern on the couch using C1, C3, C4 and C5 markers. I put orange “feet” on the couch to match the couch penguins! I used YR15 and YR18 to color the feet. For the penguins, I used 100, C7, C5 and C1. I also did the books in red (R89, R46, R14) and green (YG17, YG67). 
To make the snow globe, I die cut a 3-1/4″ circle for the globe and created a base to fit it. I attached the globe and base together. I colored the base using C5, C3 and C1 Copic gray markers. I used a black, 100, to add some detailing. I also die cut a 3-1/4″ circle from a light aqua cardstock and hand cut a curvy edge at the bottom for a snowy landscape and attached it over the white globe, matching the tops of the circles and gluing it in place. I attached the penguins on the couch to the globe, over the blue, resting the orange legs on the snowy landscape. I added a set of bunny slippers (R22, R20, E50) to the cute scene, right in front of the couch. Using white paint and a fan-shaped watercolor brush, I splattered white snow all over the globe scene. Ta da… it’s snowing in the globe!

To finish the card, I die cut greenery using the Whimsy Blooms die set and green cardstock. I used Rustic Wilderness Distress Oxide Ink and a blender brush to color the leaves to make them two-toned. The leaves were attached to the bottom of the round globe section. I attached the snow globe to the card base using foam tabs and added more greenery behind the globe on the sides. I sprinkled some more paint on the leaves. I die cut and attached two red bows, and a gem sticker to the center of the bow. I should also add that the card front was stenciled using Lost Shadow Distress Oxide Ink, a blender brush and the Falling Snow Stencil.
To finish the card, I used a fine-tip black marker to add some black specks on the card front background. I die cut the “Falala” sentiment from white and black cardstock, stacking multiple die cuts of each layer and gluing it all together. I attached it below the globe to finish the card.
You can shop all the holiday sets here. If you decide to place an order, please use the links in this post so that Alex Syberia Designs knows which ideas inspired you!
Thanks for stopping by today. If you want to see more ideas and inspiration from me, subscribe to my blog, BobbiHartDesign.com. I’ll send you updates on new posts! You can also find me on Instagram as @BobbiHartDesign and on Facebook as BobbiHartDesign.

